
首页 论坛 嵌入式软件专区 touchgfx gui 转载:基础教程(一):下载安装TouchGFX GUI并运行示例

-
- 0000000000000000
-
1888 发帖7917 回复34980 积分
- 私信他 + 关注


 楼主
楼主
转载:基础教程(一):下载安装TouchGFX GUI并运行示例
最新版本4.12.3
技术交流群:171897584

前言
TouchGFX是一种用户友好型的C++图形框架工具,它包括TouchGFX Designer(一种易于使用,基于拖放的PC图形构建器)以及TouchGFX引擎(一种功能强大且经过优化的图形核心)。它结合了拖放式GUI生成器TouchGFX Designer的简单性,C++语言的效率和灵活性以及PC模拟器的便利性,为开发者提供了完美的开发环境,使其能够快速便捷地开发具有高端图形和出色性能的高级嵌入式用户界面。
TouchGFX基础篇一共分四个教程,让您可以逐步了解并开始使用TouchGFX。
TouchGFX is an advanced free-of-charge graphic software framework optimized for STM32 microcontrollers. Taking advantage of STM32 graphic features and architecture, TouchGFX accelerates the HMI-of-things revolution through the creation of stunning, smartphone-like graphic user interfaces.
The TouchGFX framework includes the TouchGFX Designer (TouchGFXDesigner), an easy-to-use, drag-and-drop-based graphic-building PC tool, and the TouchGFX engine, a powerful and optimized graphic core. TouchGFX makes GUI development easy, combining WYSIWYG simulator and automatic code generation. It covers all steps from early design sketches to exclusive end-products, through quick iterations over finished prototypes.
TouchGFX Designer is available as a standalone software tool, allowing easy and fast graphic evaluation and proof of concept. The TouchGFX framework, including TouchGFX Designer, is distributed within STM32Cube MCU Packages. It is fully compatible with the STM32CubeMX initialization and code generation tool for the seamless co-development of graphic and main application in an unified project environment.
Key Features
- Structure: easy creation of multiple screen contents and associated transitions
- Widgets: wide selection of customizable widgets, such as a swipe container and cycle progress, for effortless GUI creation
-
Skins:
- Set of ready-to-use graphical skins enabling consistent prototyping with no need for a graphical designer
- No restriction to the use of custom graphics
- Interactions: dynamic interactions for the creation of user-friendly applications
-
Custom container:
- Creation of custom reusable application control
- Easy platform development with unified look and feel
-
Text handling:
- Fonts and typographies specified and managed in one single place
- Full translation service
- Full support of multiple alphabets and scripts such as Latin, Cyrillic, Arabic, Chinese, and Japanese
-
Code Generation:
- TouchGFXDesigner generates and maintains performant C++ code
- Tool-generated code entirely separated from user code
- All types of code extensions possible for unique animations as well as system interconnections
- Support of several integrated development environments such as IAR Embedded Workbench, Arm Keil, and GCC-based IDEs
步骤1
下载TouchGFX
用户首先需要在ST官网上注册一个用户名,登录后方可下载TouchGFX Designer。下面是下载地址和详情页面。
TouchGFX Designer下载地址:

步骤2
安装TouchGFX
本文针对的是TouchGFX 4.10版,其他版本的TouchGFX的安装与此类似。只需要运行TouchGFX MSI安装程序TouchGFX-4.10.0.msi,并遵循标准安装步骤,即可安装TouchGFX。
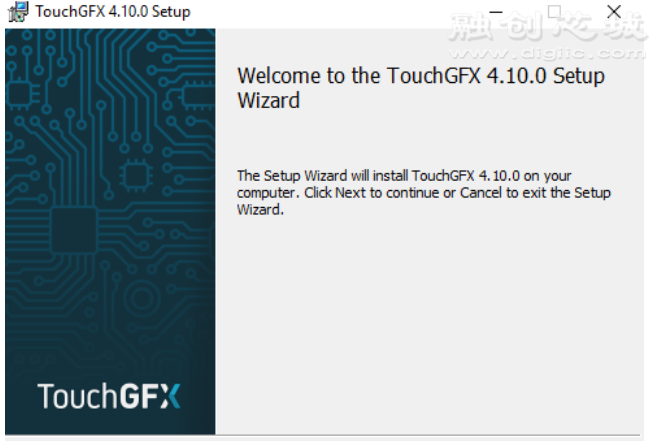
按Next进入下一步
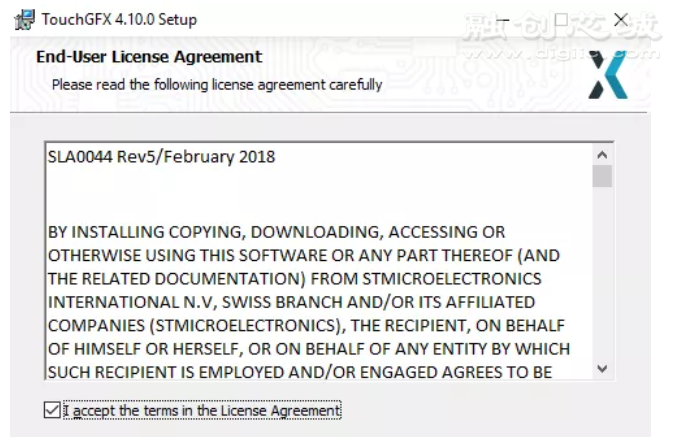
阅读并接受许可协议,按下一步

安装目录推荐使用默认路径。注意:路径不能带空格。
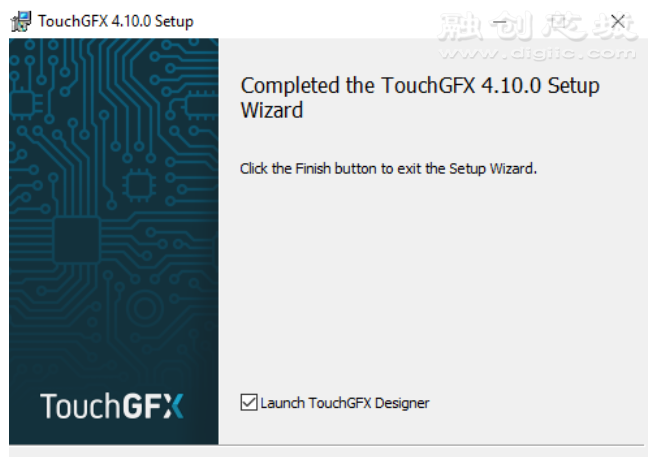
按Finish以完成安装。
默认情况下TouchGFX将安装在C:\touchgfx\4.10.0中。您可以并行安装较早的版本,也可以将早期版本放置在 C:\touchgfx\下。

TouchGFX Designer应用程序位于designer文件夹中,但安装程序可能已在“开始”菜单中创建了TouchGFX Designer快捷菜单。TouchGFX C ++框架位于touchgfx文件夹中,TouchGFX环境位于env文件夹中。
当您启动TouchGFX Designer时,您将看到此“Create New Application”(创建新应用程序)窗口:
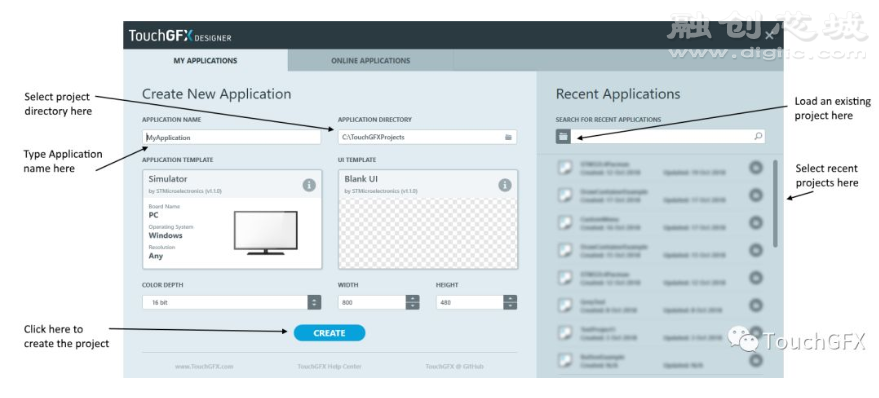
创建一个新项目
该窗口允许您创建新项目或加载现有项目。
步骤3
在模拟器上运行模板
TouchGFX Designer提供了许多UI模板。这些模板可以帮助您了解有关TouchGFX的更多信息。您可以直接使用这些模板,或是用作项目参考。
在TouchGFX Designer中启动一个新项目。单击“ UI TEMPLATE”部分中的“CHANGE”按钮或矩形框:

选择UI模板
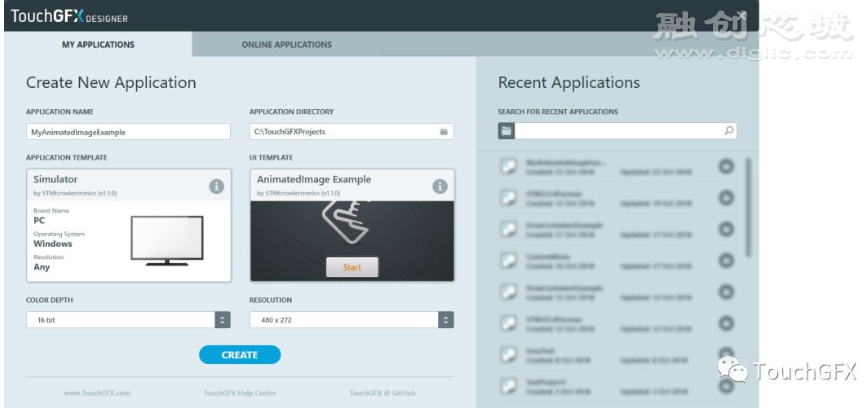
TouchGFX Designer现在将为您显示一个带有可用UI模板的窗口。单击“Matching UI Template”标签,然后选择一个模板。在这里,我们选择AnimatedImage模板。选择后,单击底部的蓝色“SELECT”按钮。

选择AnimatedImage模板
单击“SELECT”后,TouchGFX Designer即可为您创建一个项目。在这里,我们给项目命名为“ MyAnimatedImageExample”。
创建项目
单击“CREATE”创建项目。现在,TouchGFX Designer会将您选择的UI模板与默认的应用程序模板组合在一起,以创建一个完整的项目。模板是从ST的服务器上下载的,此过程大概需要10到20秒。
TouchGFX Designer现在正在显示组合项目。要运行Windows模拟器,请单击右上角的“Run Simulator”按钮。
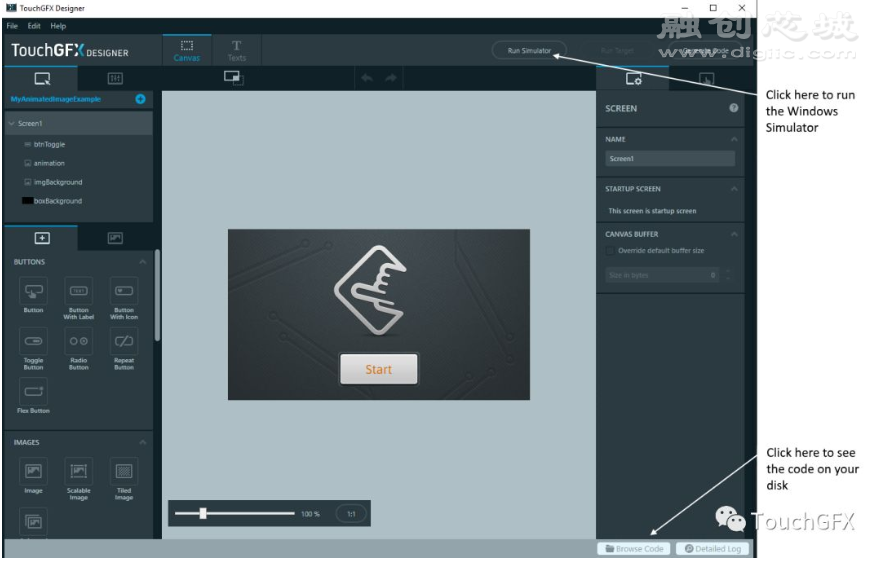
项目准备就绪
Windows模拟器显示为正常的Windows应用程序。标题栏显示应用程序名称。
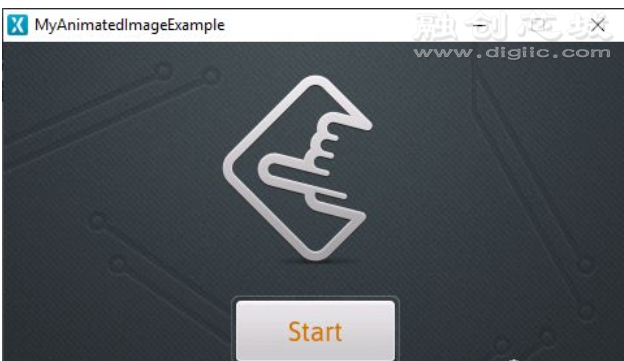
Windows模拟器
其他可用的模板可以用相同的方式尝试。
步骤4
在STM32板上运行模板
在这一步骤中,您将学习如何为STM32F746-Disco开发板创建项目,以及如何在开发板上运行TouchGFX模板。
通过单击菜单中的“File”->“New”或键盘上的CTRL-n,在TouchGFX Designer中启动新项目。
选择“AnimatedImage”作为您的UI模板(如果尚未选择)。单击“APPLICATION TEMPLATE”部分选择应用程序模板。默认的应用程序模板仅允许您在Windows上运行。
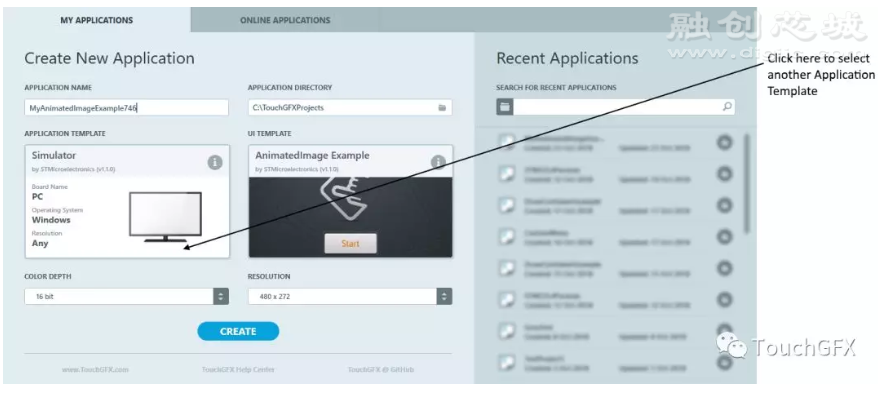
选择应用程序模板
单击“ STM32F746G Discovery Kit”,然后单击“SELECT”。

选择开发板
现在您可以创建项目了。您可以根据需要更改应用程序名称。在这里,我们将其更改为MyAnimatedImageExample746。单击蓝色的“CREATE”。

创建最终项目
该项目的外观与我们在上一步中看到的相似。唯一的区别是,我们现在在“Run Simulator”按钮旁边还有一个“Run Target”按钮。当您按下该按钮时,TouchGFX Designer将使用GNU ARM C编译器编译您的项目,并将应用程序烧写到目标开发板上。此过程最多需要一分钟,具体取决于您的计算机速度。
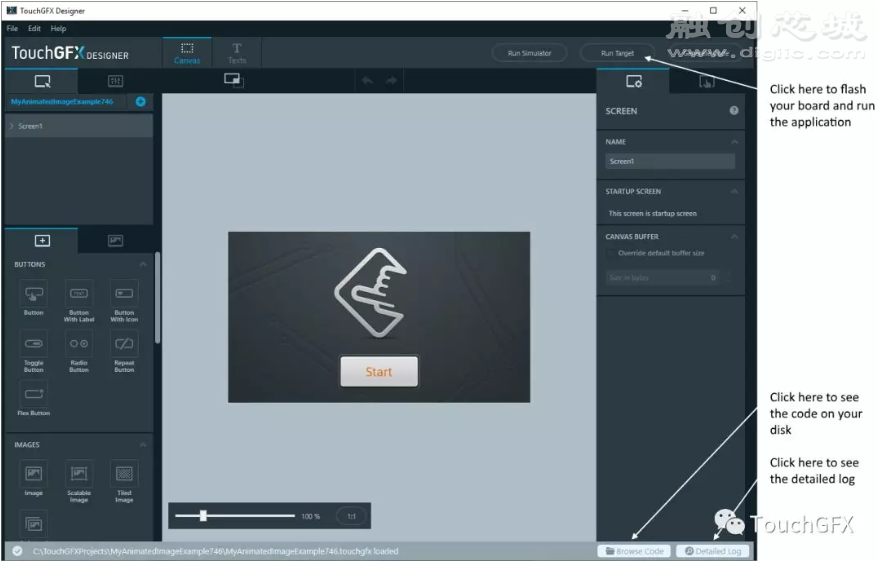
项目准备就绪
烧写完成后,TouchGFX Designer会在底部状态栏中写“ Flashing Done”。现在,您应该可以看到应用程序在开发板上运行。
如果单击右下角的浏览代码,TouchGFX Designer将打开一个文件浏览器,显示新项目所在的目录。导航到“ build \ bin”,您可以看到以下文件:
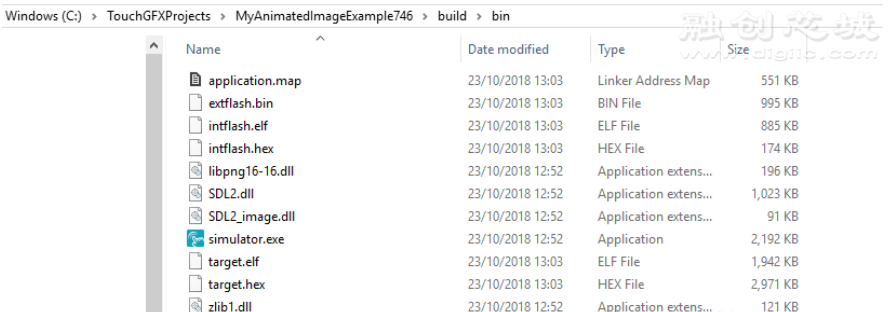
项目的二进制文件
“ simulator.exe”文件是Windows模拟器应用程序。
“ target.hex”文件是您开发板上的STM32应用程序。这是TouchGFX Designer刚刚编译到您开发板上的文件。
 回复
回复
 举报
举报
-
- 0000000000000000
-
1888 发帖7917 回复34980 积分
- 私信他 +关注


块
导
航
举报
请选择举报类别
- 广告垃圾
- 违规内容
- 恶意灌水
- 重复发帖
